Kick: Samples & Big Programs
Kick is
a kick module.
This sample illustrates the problem associated when making “big” programs
in general, and storing samples into programs (and therefore making them “big”)
Overview
Wouldn’t it be nice if we could use some audio samples into our modules and have a way to quickly prototype with them?
Ideally we would just add the sample to our project, reference it somewhere, have it available in our code, and then when we could build it and bundle all this together. Everytime we would change the sample, it would automatically rebuild.
Let’s learn how to do this, but first thing first, we need to understand how to load bigger programs.
How does it work?
If you followed very carefully the previous section, you will probably ask the question:
What about this QSPIFLASH section of 8MB? Why can’t we use it to allocate?
MEMORY
{
   FLASH (RX)    : ORIGIN = 0x08000000, LENGTH = 128K
   DTCMRAM (RWX) : ORIGIN = 0x20000000, LENGTH = 128K
   SRAM (RWX)    : ORIGIN = 0x24000000, LENGTH = 512K
   RAM_D2 (RWX)  : ORIGIN = 0x30000000, LENGTH = 288K
   RAM_D3 (RWX)  : ORIGIN = 0x38000000, LENGTH = 64K
   ITCMRAM (RWX) : ORIGIN = 0x00000000, LENGTH = 64K
   SDRAM (RWX)   : ORIGIN = 0xc0000000, LENGTH = 64M
   QSPIFLASH (RX): ORIGIN = 0x90000000, LENGTH = 8M
}
We can’t modify section when the program is running. While RWXmeans read, write and
execute (a program), RX means we can only read or execute from it.
So while we can’t use it to put for example our delay lines, we can still use it to store our program.
Suddenly, instead of having 128K to store our program in FLASH, we have this nice large
8MB in QSPIFLASH to store our program.
8MB is very large for code. This is the entire size of a compiled minimal Linux kernel already!
So this is the perfect place to store some samples. For sure not minutes of samples, but
you can have a few seconds. In the Kick sample, we store the kick body there, as well
as all the different transients to layer on top of that kick body.
The linker script we used before is only meant to store the program in FLASH memory.
To use the QSPIFLASH, we need:
To use a bootloader, the reason is explained below,
To change of linker script.
The bootloader will allow to boot to the program contained in the QSPIFLASH, as we can’t
boot directly to it.
We have two linker scripts options:
One which stores the program to
QSPIFLASHand boot from there,One which loads a part of the program to
SRAMand boot from there.
The advantage of booting from SRAM is that this memory is faster than the QSPIFLASH
for instruction fetching. In the following, we will use the first option.
Preparing
First let’s configure the IDE project to inspect the project in the comfort of our IDE if you
are using one. Navigate to eurorack-blocks/samples/kick and run:
eurorack-blocks$ cd samples/kick
eurorack-blocks/samples/kick$ erbb configure
If you are using Xcode, you can navigate to the artifacts folder and open the
project_vcvrack.xcodeproj Xcode project.
From Xcode, you can build using ⌘B.
If you are using VSCode, just open the kick folder in VSCode.
You can also build the VCV Rack module from the command line with:
$ erbb build simulator
Now you can open VCV Rack, and add the Kick module and play a bit with it.
Resources & Data
Maybe have you looked into the artifacts folder as you built and saw those
<Module>UI.h header files (where <Module> is the name of the module).
Now you can see that we have an additional KickData.h header file.
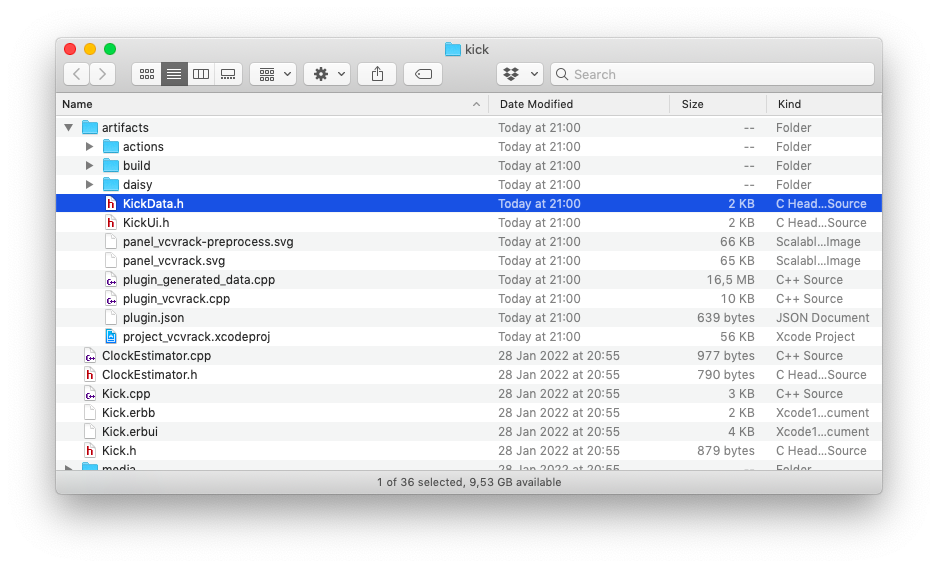
What is that KickData.h file? This is where we store our resources.
A resource is a piece of data with an optional type, and one of those types is a convenient
audio sample data type.
Let’s look at our Kick.erbb file:
module Kick {
   section qspi

   import "../dsp/dsp.erbb"

   sources {
      file "Kick.cpp"
      file "Kick.h"
      file "Kick.erbui"

      file "ClockEstimator.cpp"
      file "ClockEstimator.h"
      file "Presence.cpp"
      file "Presence.h"
      file "Space.h"
      file "VoiceBody.h"
      file "VoicesBody.h"
      file "VoicesTransient.h"
      file "VoiceTransient.h"
   }

   resources {
      data body AudioSample { file "media/body.wav" }
      data transient01 AudioSample { file "media/transient01.wav" }
      data transient02 AudioSample { file "media/transient02.wav" }
      data transient03 AudioSample { file "media/transient03.wav" }
      data transient04 AudioSample { file "media/transient04.wav" }
      data transient05 AudioSample { file "media/transient05.wav" }
      data transient06 AudioSample { file "media/transient06.wav" }
      data transient07 AudioSample { file "media/transient07.wav" }
      data transient08 AudioSample { file "media/transient08.wav" }
      data transient09 AudioSample { file "media/transient09.wav" }
      data transient10 AudioSample { file "media/transient10.wav" }
      data transient11 AudioSample { file "media/transient11.wav" }
      data transient12 AudioSample { file "media/transient12.wav" }
      data transient13 AudioSample { file "media/transient13.wav" }
      data transient14 AudioSample { file "media/transient14.wav" }
      data transient15 AudioSample { file "media/transient15.wav" }
      data transient16 AudioSample { file "media/transient16.wav" }
      data transient17 AudioSample { file "media/transient17.wav" }
      data transient18 AudioSample { file "media/transient18.wav" }
   }
}
The highlighted line contains a resource declaration of kind data.
A data is a static variable in your program, that you can access from C++.
What it does here, is to create an AudioSampleMono from the file body.wav, because the
file has only one channel, with the name kick_body.
Its declaration is available in the KickData.h header file:
struct KickData
{
   static const erb::AudioSampleMono <float, 38320> body;
   static const erb::AudioSampleMono <float, 38400> transient01;
   static const erb::AudioSampleMono <float, 38400> transient02;
   static const erb::AudioSampleMono <float, 38400> transient03;
   static const erb::AudioSampleMono <float, 38400> transient04;
   static const erb::AudioSampleMono <float, 38400> transient05;
   static const erb::AudioSampleMono <float, 38400> transient06;
   static const erb::AudioSampleMono <float, 38400> transient07;
   static const erb::AudioSampleMono <float, 38400> transient08;
   static const erb::AudioSampleMono <float, 38400> transient09;
   static const erb::AudioSampleMono <float, 38400> transient10;
   static const erb::AudioSampleMono <float, 38400> transient11;
   static const erb::AudioSampleMono <float, 38400> transient12;
   static const erb::AudioSampleMono <float, 38400> transient13;
   static const erb::AudioSampleMono <float, 38400> transient14;
   static const erb::AudioSampleMono <float, 38400> transient15;
   static const erb::AudioSampleMono <float, 38400> transient16;
   static const erb::AudioSampleMono <float, 38400> transient17;
   static const erb::AudioSampleMono <float, 38400> transient18;

};
You can then use this data in your program directly. The AudioSampleMono template class
instance is already filled in with the audio sample rate, all the samples.
It is as if you would have loaded a WAV file from within your program, except Eurorack-blocks did it
for you, and the sample is available before your program even starts!
This is because Eurorack-blocks “transpiles” the audio sample to C++ code that get compiled
like the rest of your program.
If we look at Kick.cpp:
for (size_t i = 0 ; i < erb_BUFFER_SIZE ; ++i)
{
   float val = body.process (data.body) * active_ramp.process ();
   val += filter.process (transient.process ());
   val = space.process (val);
   val = presence.process (val);

   ui.audio_out [i] = val;
}
We call body.process with the entire sample data.body, which was generated from
media/body.wav.
Now if we look into the body implementation in VoiceBody.h:
float ret_1 = sample.samples [pos];
float ret_2 = sample.samples [pos + 1];
float ret = ret_1 + (ret_2 - ret_1) * mix;
We access the samples number pos and pos + 1.
If the body.wav file was a stereo audio file, it would generate a AudioSampleInterleaved
object, and we could access its content like this:
float ret_left_1 = sample.frames [pos].channels [0];
float ret_left_2 = sample.frames [pos + 1].channels [0];
float ret_right_1 = sample.frames [pos].channels [1];
float ret_right_2 = sample.frames [pos + 1].channels [1];
AudioSampleInterleaved contains an array of frames, and each frame contains an array
of channels.
In our example above, 0 indexes the left channel, and 1 indexes the right channel.
Program Section
Now if you take a closer look in the project, you will find that the sum of all samples is already
more than the FLASH 128K maximum size, and the program total size must therefore be even
bigger than that. So how does it work?
You must have seen it already:
module Kick {
   section qspi

   import "../dsp/dsp.erbb"
We tell the program to use the QSPIFLASH section.
This way, the program can easily fit into it.
Internally Eurorack-blocks will use the right linker script so you don’t have to care about this.
Let’s see what would happen if we don’t flash in the QSPI flash:
module Kick {
   //section qspi

   import "../dsp/dsp.erbb"
We commented the line, and by default, programs are flashed to the small 128K flash
section.
Now if we run erbb build, which builds the firmware:
eurorack-blocks/samples/kick$ $ erbb build
ACTION UI
ACTION Daisy
ACTION Data
...
CXX plugin_generated_data.cpp
LINK Release/Kick.elf
Memory region         Used Size  Region Size  %age Used
           FLASH:     3002604 B       128 KB    2290.81%
         DTCMRAM:          0 GB       128 KB      0.00%
            SRAM:        9232 B       512 KB      1.76%
          RAM_D2:       16968 B       288 KB      5.75%
          RAM_D3:          0 GB        64 KB      0.00%
         ITCMRAM:          0 GB        64 KB      0.00%
           SDRAM:          0 GB        64 MB      0.00%
       QSPIFLASH:          0 GB         8 MB      0.00%
...
make: *** [Release/Kick.elf] Error 1
If you look at the highlighted line, you will see that the linker indicates that the FLASH region is overflowed (by a lot!)
Note
Building for the simulator using erbb build simulator won’t be able to detect
memory section overflows.
Installer Support
Flashing the firmware to QSPI is a bit different from Flashing to the internal flash.
Like we said above, we need a bootloader for that. The bootloader is going to be installed in the internal flash memory and then install the program to the QSPI flash section. This can be done simply like this:
eurorack-blocks/samples/kick$ erbb install bootloader
Enter the system bootloader by holding the BOOT button down,
and then pressing, and releasing the RESET button.
Uploading dsy_bootloader_v4 to flash section...
...
eurorack-blocks/samples/kick$ erbb install firmware
Enter the Daisy bootloader by pressing the RESET button.
Press Enter to continue...
Uploading Kick to qspi section...
dfu-util 0.11
First, when installing the bootloader, you need to press both BOOT and RESET to write to flash memory.
Then, as soon as you press the RESET button, the Daisy bootloader starts, and you will see
the User LED flashing on the board. It will wait for 5 seconds in this state, so you should
be prepared to start the erbb install. If you missed the bootloader start, just press
the RESET button again.
After that, the bootloader will go in a different LED dance, and you will see the program being downloaded to the Daisy hardware. Note that in the case of the Kick module, it takes quite some time, but still less than a minute. This is because the program is nearly 3MB with all those samples!
Important
Note that when using the bootloader, you only press the RESET button, not combined with the BOOT button.
The erbb install command will parameter the installation automatically.
Important
The bootloader needs to be installed only once. However, if you install after a new program in the flash section, you will need to reinstall the bootloader.
Note
erbb install cannot be used with the stlink --programmer option when flashing to
QSPI.