Max on Windows
Requirements
Note
Windows 10 or later is recommended.
Before we can setup Eurorack-blocks, we will need to have on your system:
If you are a developer, there is a chance that most of them are installed already.
In all cases, please make sure that the Python in use is not the one from the Windows Store.
Experienced developers might already have one (or multiple!) versions of Python installed. For Eurorack-blocks, please use at least Python 3.7.
For all the following commands, we will use Git Bash that comes included with git on
Windows.
Important
All commands are expecting the use of Git Bash. They are not compatible with Cmd or PowerShell.
Note
Please use the copy button on the top right corner of the following code blocks to copy/paste the commands in your terminal.
You can check your installation by trying the following commands, and checking it doesn’t return an error or something else than it version. Versions are shown here for a concrete example, they might be different on your computer.
MyPC:~ $ git --version
git version 2.41.0
MyPC:~ $ python3 --version
Python 3.11.4
What is Gen?
Your Max installation needs to have a valid authorization for gen~ code to be exported,
on which Eurorack-blocks relies.
As described by Cycling ‘74:
Gen is an extension of the Max patching environment that converts what you build visually into efficient compiled code as you go. Not only does it extend the capabilities of Max, but Gen code can be used outside of Max, with Code Export. Gen includes the gen~ object for audio, […]. Use Gen if you want to make efficient audio […] processes at a very low level and get immediate feedback.
Eurorack-blocks’s Max Integration is using Gen exported code to build your module for both the simulator in VCV Rack and your firmware running on the Daisy platform.
Licensing
Eurorack-blocks has a very permissive license that allows commercial use, modifications, distribution and private use, as long as you follow the license requirements.
However, the use of Max-generated code follows a different license, that you need to follow as well. Don’t worry, if you are a hobbyist and don’t plan to make any commercial use, still read the license to be aware of it in the future, or check your understanding of commercial-use in the license context, and just go on. However if you plan to do commercial use of your module using Max-generated code, you need to comply to Cycling ‘74’s license and read their license carefully.
This license is available in the artifacts folder that get generated the first time you use
Eurorack-blocks to build the simulator from the patcher. It will generate a module_max.h
file which contains the Gen Licensing agreement at the very top of the file.
The terms of this license might change depending on your Max version, so make sure
to read it again when you upgrade. For example, the license for Max 7.2.5 is not the
same as the one for 7.3.
Additionally, Cycling ‘74 provides a FAQ if you need more details, that you can read here. Finally if you have still more questions, please don’t hesitate to contact licensing@cycling74.com. They won’t bite you!
Cloning
Clone the repository. This will create a eurorack-blocks directory into the current working directory, with all dependencies.
MyPC:~ $ git clone --recurse-submodules https://github.com/ohmtech-rdi/eurorack-blocks.git
Will typically output:
Cloning into 'eurorack-blocks'...
remote: Enumerating objects: 14327, done.
...
Submodule path 'submodules/libDaisy/tests/googletest': checked out 'f5e592d8ee5ffb1d9af5be7f715ce3576b8bf9c4'
Submodule path 'submodules/vcv-rack-sdk': checked out '91fd742827c04d36ba9b0e5e179571e393682326'
Setting up
First change the current directory to eurorack-blocks:
MyPC:~ $ cd eurorack-blocks
Then install by running the script below:
MyPC:~/eurorack-blocks $ ./build-system/install.py
This will add the erbb script to your PATH, but the PATH will be set only for new terminals.
You can either close your current terminal and open a new one, or source the erbb environment
explicitly into your current shell session:
MyPC:~/eurorack-blocks $ source ./build-system/init.sh
Then:
MyPC:~/eurorack-blocks $ erbb setup --with-max-support
This will take a bit of time depending on your Internet connection.
erbb setup by itself is installing dependencies internally without modifying anything on
your system. If you delete the eurorack-blocks folder, boom, everything is gone.
The additional options, usually starting with --with do change your system. For example
here we install Eurorack-blocks Max package where needed for Max to automatically detect it.
You can now start to use eurorack-blocks 🎉
Testing a Sample
Let’s test a sample. We’ll use the Drop sample in eurorack-blocks/max/drop.
Open the Drop.maxpat file. If everything is correctly installed, it should look like that:
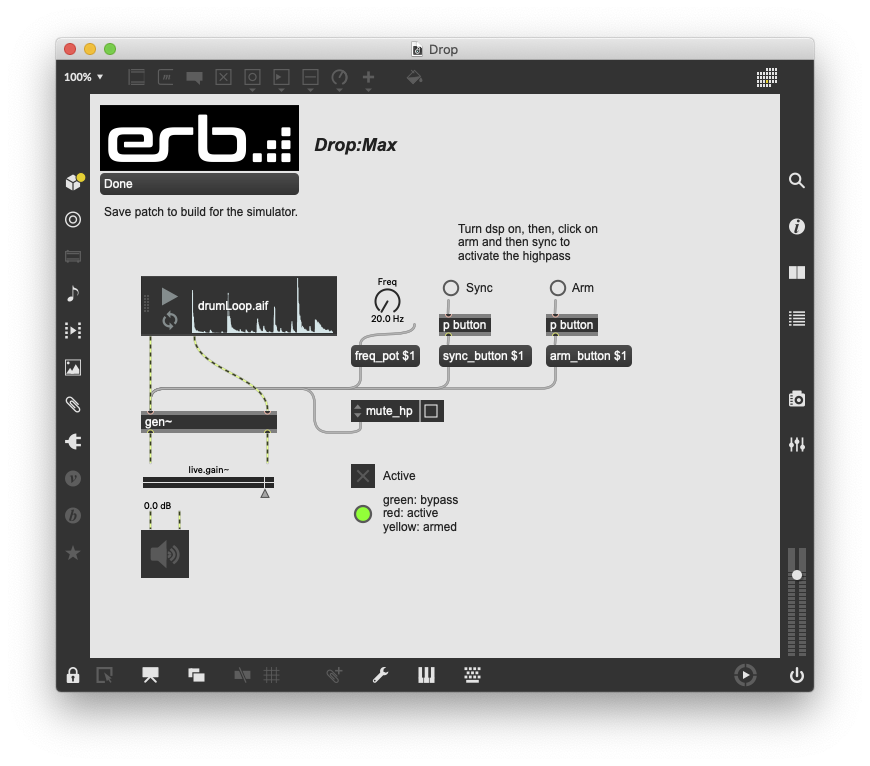
Now save your patch: this will automatically build the Drop module, ready to be used in VCV Rack!
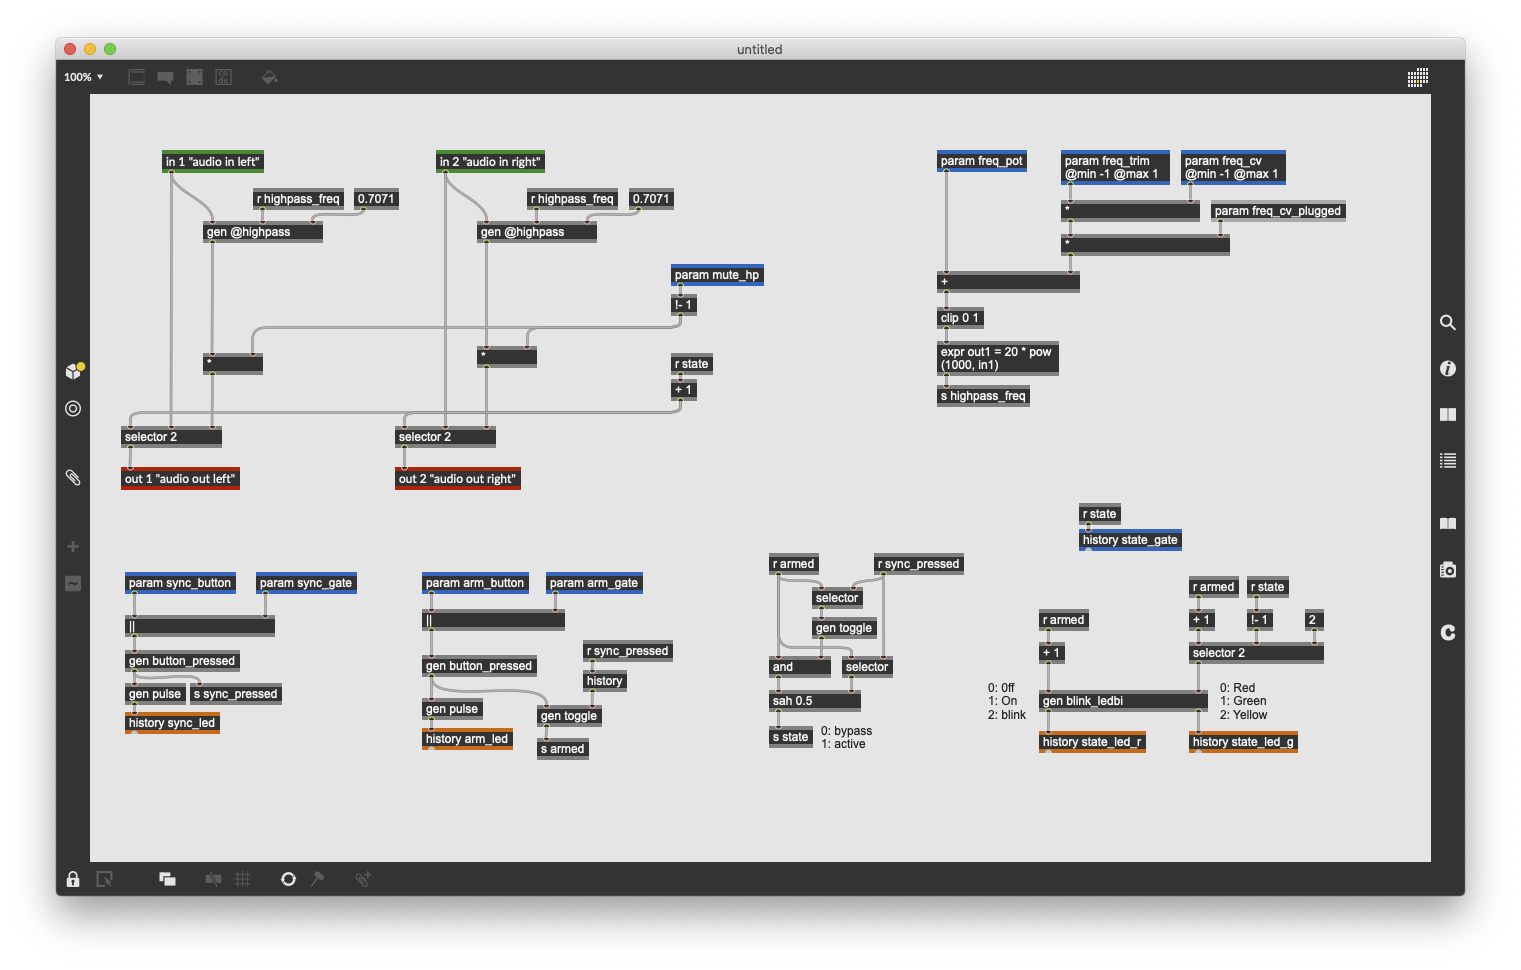
You can have a look into the gen~ patch by ⌘-double click on it to open its window.
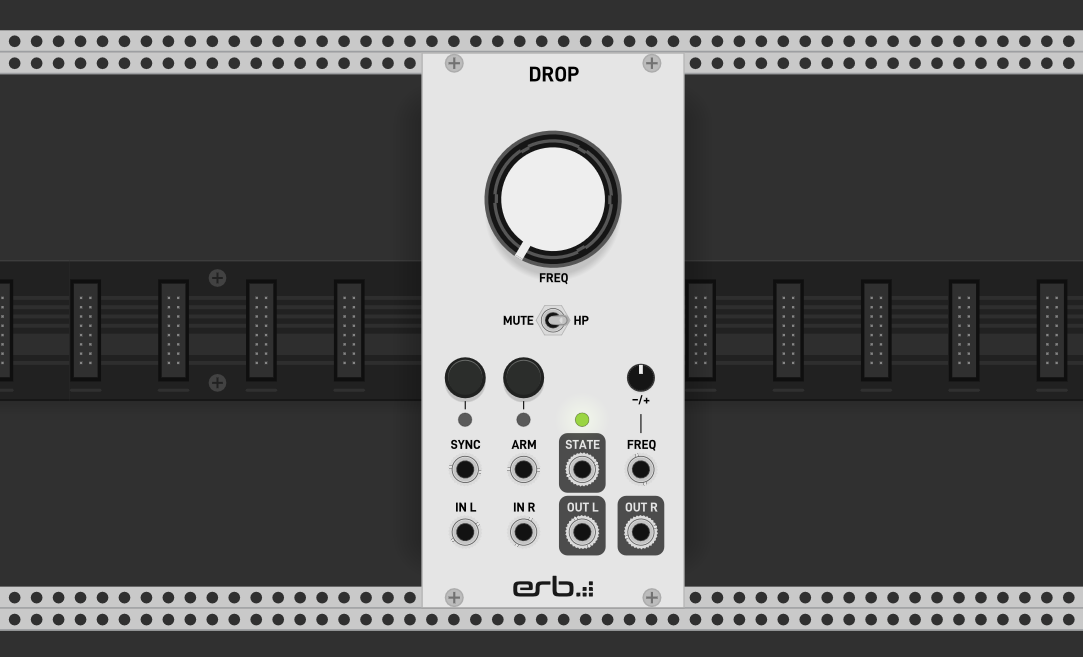
Testing in VCV Rack
In VCV Rack the Drop module will appear in the library when right-clicking in the rack empty space.
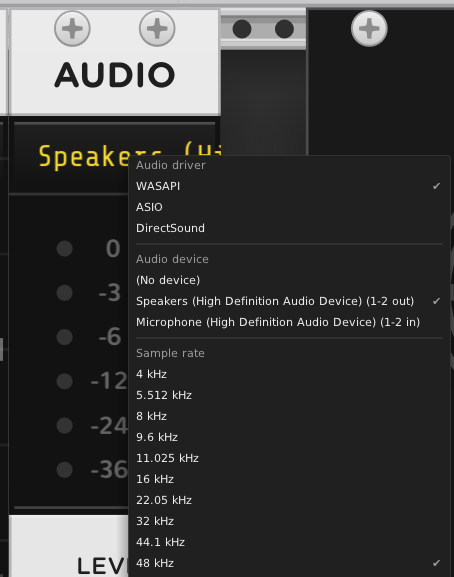
Important
Before starting to play with it, make sure to setup your audio device, and set the sample rate to 48kHz! This requirement will be explained later in the tutorial.
Testing in your Eurorack System
If you bougth the Eurorack-blocks Starter Kit, it comes with the Drop module, and you should have already assembled it by now.
To install the firmware, that we previously built in the section above:
Connect the same USB cable that you used for installing the Frohmager firmware,
Run the following command and follow the on-screen instructions:
MyPC:~/eurorack-blocks/max/drop $ erbb install firmware
Enter the system bootloader by holding the BOOT button down,
and then pressing, and releasing the RESET button.
Press Enter to continue...
...
Note that if you bought a STLink V3 Mini for example from Electro-smith, you can use it to program the Daisy Patch Submodule. It has the advantage to be more convenient, as:
It is typically faster than using the USB port on the Daisy Patch Submodule,
You don’t need to remove your module from your base to press those BOOT and RESET button.
The install command will automatically select the STLink V3 Mini to install the firmware
if it is plugged on your computer.
Have fun!
Maybe now is a good time to head over to Your First Module with Max to learn more about the Max integration in Eurorack-blocks.